How to set up Coolify on a Hetzner server
In this article I will show you how you can set up Coolify on your own VPS, specifically on Hetzner although it doesn't have to be on Hetzner. This article is influenced by this great video on setting up Coolify which is a great resource on setting up Coolify. But first of all what is Coolify?
What is Coolify?
Coolify calls itself an open-source & self-hostable Heroku / Netlify / Vercel alternative. Which is exactly what it is. You set it up on your server then you easily deploy and self host multiple services. But please check out their website and star them on Github and support such a great open-source project.
What is Hetzner?
Hetzner is a Germany based hosting and cloud provider (although they have servers in the USA and Finland as well). They are known to be cheap and reliable. However for Coolify you can host on any VPS such as AWS, Digital Ocean, Linode, etc. In this article I will use Hetzner.
Setting up a Hetzner server
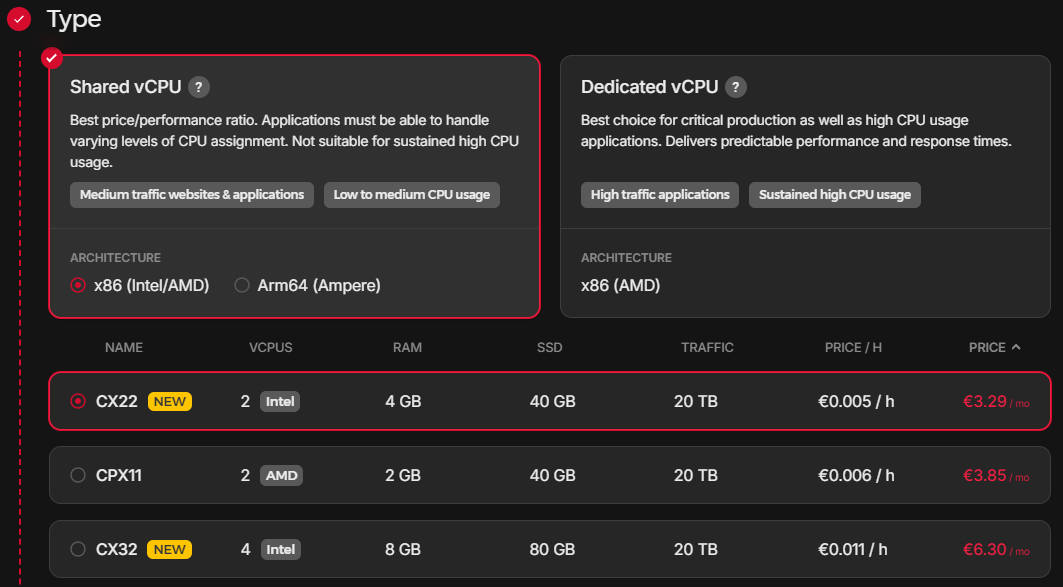
Firstly, you need to sign up with Hetzner I recommend you use the creator of Coolify's referral link to support the creator of great open-source software. Then you'll have to create a project in Hetzner cloud and the create a server. The lowest tier server can run Coolify fine.
Coolify has a their own cloud config which you can use when buying a server to programmatically set up your server.
#cloud-config
users:
  - name: <username>
    ssh_authorized_keys:
      - "<ssh key>"
    sudo: ALL=(ALL:ALL) ALL
    groups: sudo
    shell: /bin/bash
chpasswd:
  expire: true
  users:
    - name: <username>
      password: changeme
      type: text
runcmd:
  - sed -i '/PermitRootLogin/d' /etc/ssh/sshd_config
  - echo "PermitRootLogin without-password" >> /etc/ssh/sshd_config
  - sed -i '/PubkeyAuthentication/d' /etc/ssh/sshd_config
  - echo "PubkeyAuthentication yes" >> /etc/ssh/sshd_config
  - sed -i '/PasswordAuthentication/d' /etc/ssh/sshd_config
  - echo "PasswordAuthentication no" >> /etc/ssh/sshd_config
  - systemctl restart sshd
  - echo "$nrconf{kernelhints} = -1;" > /etc/needrestart/conf.d/99disable-prompt.conf
  - apt update
  - apt upgrade -y --allow-downgrades --allow-remove-essential --allow-change-held-packages
  - reboot
Change <username> to your username and <ssh key> to your SSH key. The password when you first SSH into your server will be "changeme" which will then prompt you to change the password straight away to something more secure. This cloud config is taken from this video so if you'd like to learn more please check out their video!
Installing Coolify on your server
Now that you've bought your server SSH into your server using it's IP address. For example like this ssh root@<IP address> once you're in your server you'll want to update all your servers packages with the apt update and apt upgrade commands.
After that you can run Coolify's one liner install command curl -fsSL https://cdn.coollabs.io/coolify/install.sh | bash from Coolify's Documentation. Now you can access Coolify on port http://<ip>:8000 of your server.
Congratulations!
Congratulations you've now set up Coolify on your own Hetzner server. However you're not done yet, you still need to set up a firewall and secure your server with a Domain name. Unfortunately this is as far as I'll go for this article. If you'd like to learn the rest to secure your server it's very simple and you can follow along with this video here. CJ does a great and more in depth video on setting up Coolify. This article was just a small step into setting up Coolify.
Thank you for reading!